
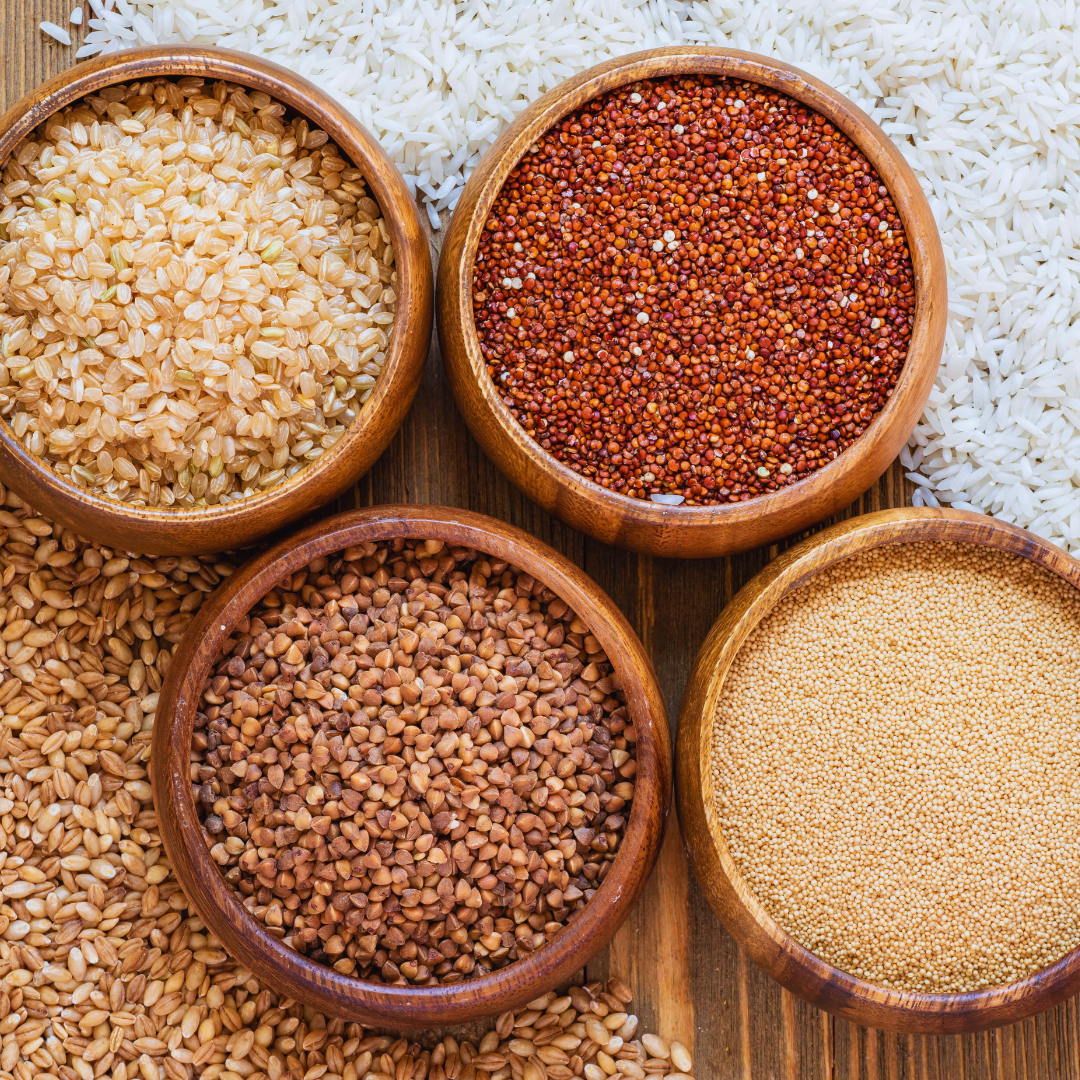
Cooking grains perfectly every time comes down to controlling water ratios and cooking times specific to each type. Using the right amount of water and allowing grains to rest after cooking ensures a fluffy, well-cooked result without being mushy or underdone.
Grains like rice, quinoa, and bulgur all have slightly different needs, but the basic principles remain consistent. Understanding these small differences can help anyone achieve consistent, reliable results in the kitchen.
Mastering these steps removes guesswork and frustration from cooking grains. This knowledge helps elevate simple meals by providing a solid base that is cooked properly every time.
Choosing and Preparing Grains
Proper selection and preparation of grains directly impact their texture and flavor. Understanding grain types, quality indicators, and preparation steps like rinsing or soaking ensures consistent results. Combining different grains can also enhance texture and complexity in dishes.
Types of Grains and Their Unique Qualities
Whole grains like brown rice, farro, and wheat berries have intact bran and germ, offering a nuttier flavor and chewier texture. Quinoa and amaranth are seeds often grouped with grains and cook faster with a fluffy texture.
Barley and millet differ in cooking times; barley is dense and hearty, requiring longer cooking, while millet is light and fluffy. Each grain absorbs water differently, affecting cooking methods and times. Choosing the grain based on desired texture helps achieve perfect results.
How to Select High-Quality Grains
Look for grains that are uniform in size and color without visible discoloration or cracked pieces. Freshness is key; old grains may taste stale or cook unevenly.
Packaging should indicate whole-grain status if applicable, reflecting higher fiber and nutrient content. Buy from reputable sources. Bulk bins require careful inspection to avoid moisture or pests. Store grains in airtight containers in cool, dry places to preserve quality.
Importance of Rinsing and Soaking
Rinsing grains in a fine-mesh strainer removes dirt, dust, and excess starch, preventing gummy textures. For example, rinsing quinoa removes its natural bitter coating called saponin.
Soaking denser grains such as wheat berries, barley, or farro reduces cooking time and softens the grains. It can also improve digestibility by breaking down some phytic acid. Soak grains in cold water for at least 30 minutes, or overnight for tougher varieties, then drain well before cooking.
Mixing Grain Varieties for Texture
Combining grains like brown rice with lighter grains such as millet or quinoa creates balanced textures and flavors. Mix grains with similar cooking times or adjust cooking methods to accommodate differences.
A ratio approach works best: use more of the denser grain and less of the fluffy grain. Stir grains before cooking to ensure even water absorption. This technique allows for varied mouthfeel and visual appeal in grain dishes.
Mastering Cooking Methods for Perfect Grains
Cooking grains depends on controlling water amounts, heat levels, and timing. Choosing the right method affects texture and flavor, whether boiling, simmering, steaming, or using special equipment. Each approach requires precise handling to avoid undercooked or mushy results.
Understanding Water-to-Grain Ratios
Water-to-grain ratios vary by grain type and desired texture. For example, white rice usually needs 1.5 to 2 cups of water per cup of rice. Brown rice requires about 2 to 2.5 cups of water because of its tougher bran layer.
Measuring water accurately impacts the final product. Too much water causes sogginess; too little results in hard or uneven grains. Different grains like quinoa, barley, or couscous each have specific ratios that should be followed closely.
Adjust water based on cooking method, altitude, and personal preference. Some grains absorb differently when soaked prior to cooking. Keeping a record of successful ratios can help replicate results.
Boiling Versus Simmering Techniques
Boiling uses high heat with bubbling water, good for grains that cook quickly, like couscous or bulgur. It can lead to uneven cooking if not closely monitored. Rapid boiling may break grains apart.
Simmering employs gentle heat just below boiling, ideal for grains needing longer cooking, such as brown rice or barley. It allows better water absorption and prevents grains from falling apart.
Starting grains in boiling water, then reducing to a simmer, is common for longer grains. Covering the pot traps steam and directs heat evenly. Timing and heat adjustments depend on the grain’s density.
Using a Rice Cooker or Steaming
Rice cookers simplify cooking grains by automating heat and timing based on sensors. They work best for white rice, jasmine, and basmati varieties. Many machines have settings for brown rice or other grains, but require correct water input.
Steaming can cook grains with indirect heat and moisture. Placing soaked grains in a steamer basket over simmering water produces a fluffy texture with less risk of burning. This method suits sticky rice or delicate grains.
Both methods reduce constant attention but demand precise water-to-grain ratios and preparation. Rice cookers especially rely on consistent ingredient quantities for predictable results.
The Pasta Method for Batch Cooking
The pasta method uses a large amount of boiling water to cook grains, then drains the excess. This technique works well for grains like farro, barley, or wheat berries. It prevents sticking and allows cooking large batches.
Boil grains in a pot of salted water, stirring occasionally to avoid clumping. When tender, drain using a fine sieve. Unlike absorption methods, the water amount doesn’t need exact measuring, making it forgiving.
After draining, grains should be rinsed briefly under cold water to stop cooking and remove excess starch. This method is efficient for meal prep but may wash away some nutrients. It also produces grains with a chewy, firm texture.
Flavor and Texture Enhancements
Enhancing grains involves simple techniques that deepen flavor and improve texture. Using heat, fresh ingredients, and proper handling results in grains that complement any meal.
Toasting Grains for Added Depth
Toasting grains in a dry pan or with a bit of olive oil before cooking releases natural oils and intensifies their flavor. This process creates a nuttier, richer taste and helps grains hold their shape during cooking.
Heated olive oil allows even browning and adds a subtle aroma. Stirring constantly prevents burning and ensures uniform toasting. Typically, toasting takes 3 to 5 minutes on medium heat until grains become fragrant and lightly browned.
This step is especially effective for stronger grains like quinoa, farro, and brown rice. It does not add cooking time but improves the final dish’s complexity and mouthfeel.
Incorporating Aromatics and Herbs
Adding onion, garlic, and fresh or dried herbs such as bay leaves, thyme, or celery during cooking enhances the grain flavor. Sauté finely chopped aromatics in olive oil until softened before adding grains and liquid.
This method infuses grains with savory undertones and layers of complexity from the herbs. Bay leaves and thyme impart subtle earthiness, while celery adds mild bitterness and freshness.
Use whole or crushed herbs for a more pronounced flavor; remove bay leaves before serving. This technique pairs well with most grains and adapts easily to both simple and elaborate dishes.
Draining and Cooling for Fluffiness
After cooking, draining grains briefly can remove excess water that leads to mushiness. Draining is essential for grains like couscous, bulgur, and some rice varieties.
Cooling the grains slightly after cooking helps separate individual kernels. Fluff grains gently with a fork rather than stirring vigorously to maintain texture without crushing.
This step prevents clumping and keeps grains light, especially in salads or side dishes. Some cooks rinse grains with cool water after draining to halt cooking and reduce stickiness.
Adjusting for Different Grain-Based Dishes
Grain texture and flavor requirements vary by dish type. For pilafs or grain bowls, slightly firmer grains with toasting and herbs work best for a layered taste.
For pureed or risotto-style dishes, soft grains with minimal toasting and more liquid create a creamy consistency. Aromatics like onion and garlic should be finely minced and cooked slowly to blend smoothly.
In salads, cooling and draining are key to prevent sogginess. Grains intended for stuffing or casseroles benefit from richer flavor via aromatics and herbs before cooking, balancing the heavier components.
Serving Ideas and Creative Uses
Grains provide a versatile base for many dishes, adding texture and nutrition. Different grains work better in specific recipes, and understanding their role can enhance meals efficiently.
Best Grains for Salads and Bowls
Quinoa, farro, and bulgur are excellent choices for grain salads and bowls. They hold their shape well when cooked and mix easily with fresh vegetables, beans, and proteins like chicken or tofu.
For cold salads, quinoa offers a light, fluffy texture and a mild nutty flavor. Bulgur and farro have a chewier bite that adds contrast to leafy greens. Cooking grains with a bit of salt and cooling them quickly helps preserve their texture.
Adding herbs, lemon juice, and olive oil gives brightness to grain salads. Protein, like chickpeas or grilled meats, makes these bowls balanced meals. Grains also absorb dressings well, enhancing overall flavor.
Making Risotto and Pilaf Variations
Arborio rice is the classic choice for risotto due to its high starch content, which creates a creamy texture. Cooking risotto requires the gradual addition of warm broth while stirring continuously.
For pilaf, long-grain rice, basmati, or barley work best as they remain separate and fluffy. Pilafs often start with sautéing grains in oil or butter, then simmering with broth and aromatics like onion, garlic, and herbs.
Adding vegetables, mushrooms, or nuts can diversify these dishes. Both risotto and pilaf serve as excellent bases for proteins such as shrimp, chicken, or beans, making them suitable for varied meals.
Meal Prep and Storage Tips
Cooked grains store well in the fridge for 3-5 days in an airtight container. Cooling grains quickly after cooking prevents spoilage and maintains texture.
Grains freeze well, too. Portion cooked grains before freezing to ease meal assembly later. When thawed, grains can be reheated with a splash of water or broth to restore moisture.
Label containers with the date cooked. For meal prepping, cooked grains combine with vegetables and proteins in balanced portions to save time throughout the week. Keeping dressings separate until serving keeps grain salads fresh longer.